HR workflows are going to inherently include sensitive data. It's just part of the work. To send an offer letter, you need compensation numbers and a personal mail address.
But with using that data comes the responsibility of being careful and respectful of it. That's why Sora gives you complete control in customizing who can view or edit each and every field and workflow in Sora.
Let's take a look at how that works.
How permissions work
The first thing to understand when thinking about permissions is that an employee can belong to multiple groups. We know that a person might need one set of permissions because they're on the People team, and another one because they work on offer letters, and then additional permissions because they handle employee performance improvement plans. In that instance, the employee would be a member of the "everyone" group, the "HR" group, the "offer letter" group, and the "performance improvement" group. And as this person uses Sora, for each data field, they'll have the highest permission included in the groups they belong to.
This also means that you don't need to duplicate permissions again and again for each different group. You set the default permissions in the "everyone" group and then add on additional permissions as needed.
Creating a new permissions group
To edit permissions, you need to have administrative access.
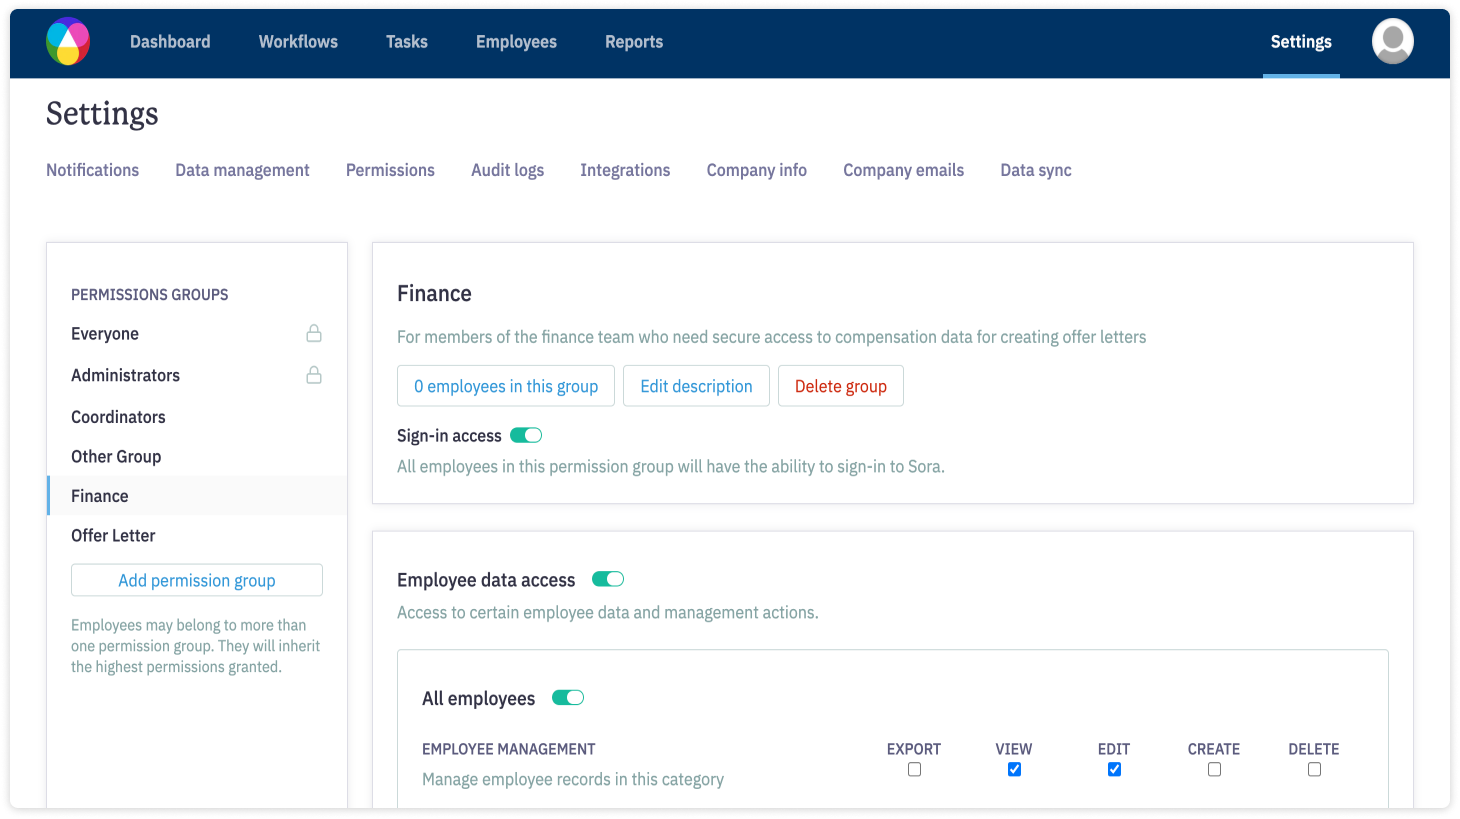
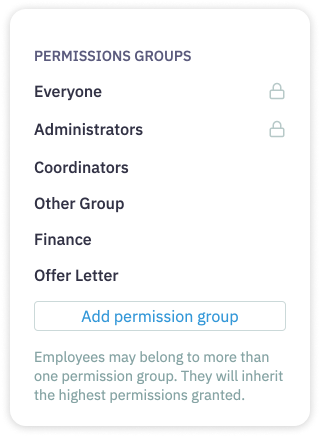
From the Settings page, select the Permissions section. From here, you can see the different existing permission groups.
Since we want to create a new one, we'd click the Add permission group button.
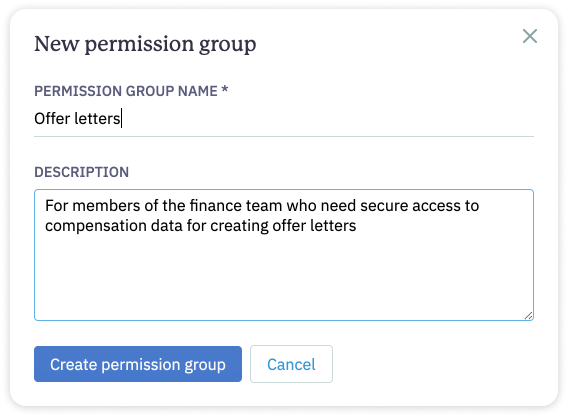
This pops open a module for naming the group and giving it a description. It's always best to be as clear and semantic as possible, so in the future, you'll be able to understand what the group is for. This way you won't have to go into settings searching for what it has access to, or worse, accidentally give someone access to data they shouldn't be able to see.
After naming and describing the group, just hit the Create permission group button.
Types of access
Now you'll be taken to a page where you can customize the different access that the members of the group will have.
Starting with Sign-in access, or simply whether they're able to use their work Google account to sign into Sora.
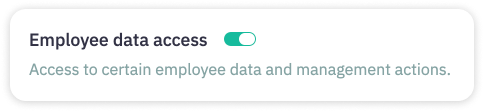
Next is employee data, which makes up all the different fields and survey answers on each employee's profile. This is broken up into three sections, all employees, direct reports, and personal data.
Then there's workflows access, both for creating and editing tasks in employees' workflows and in the master workflow and task templates.
And finally, there is administrative access for managing the company's Sora account settings and integrations.
Let's take a look at how we'd set up each.
Sign-in access
Since we know that all employees are a part of the "everyone" group, and our "everyone" permission already gives employees sign-in access, we don't need to touch this. But if you want your employees to not be able to log in to Sora by default, this is where you could manage it on a group level for those who you would like to have access to.

Employee Data
This is the big one, and it's broken into three sections. First is all employees. Here is where we'd give a group access to fields for every person at the company. Next is direct reports, where you can provide managers access to view and edit fields on their direct reports that they cannot access on everyone else. And last is personal data, where you can decide which fields a person can view and edit on their own employee profile.
Each section starts with employee management. Think of this as access to the employee database. In your "everyone" group, you wouldn't want to give everyone access to create, edit, delete employees. And you wouldn't want them to be able to export that data either.
You might want to allow view so that employees can see other employees in Sora. But you might also want to only have that on a need to know basis.
Next is fields and groups. This is all of the field level data on an employee profile, from their name to their start date, or relationships like their manager or mentor. These fields are grouped, but you can also expand the group to edit access on a field by field level.

The types of access you can grant are export, view, edit, and edit review. Export and view mean precisely what they sound like. They'll let the employee see and export data from this field on employees' profiles. Editing is a little more nuanced. With the edit checkbox, you can give people in a group permission to make and approve edits. However, with edit review you can also simply give them the ability to submit an edit for review. This is a good option when you want to allow employees to make the changes to a field, but need a supervisor to sign off on the changes.
And the last section is surveys. Here is where you can manage access to all surveys and survey questions for every survey task. You can grant the same export and view access, as with other fields, but with surveys, there is an additional permission to overwrite existing survey responses.
You might want to allow your IT team to see answers to a technical needs survey, but not to a 30-60-90 day survey question response. And while most people working with survey responses might only need to view them, some may need the ability to overwrite fields, like if a new hire changes their mind about which laptop they'd like and asks a member of the People Ops team to change a response to the technical needs survey.

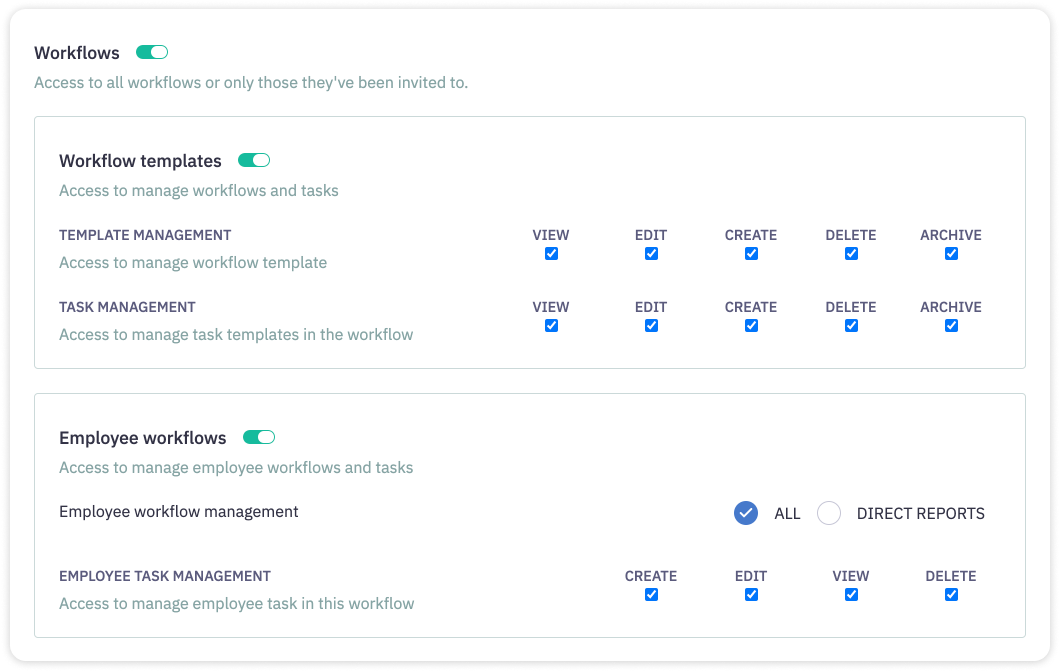
Workflows
Workflow access allows you to decide who can view and edit your workflow templates or individual employee's workflows.
You only want to grant access to workflow templates to the people who need to build and update your workflows. It's a relatively high-level permission. It allows someone to create a new workflow or task, edit existing ones, or even delete them.
And then there's employee workflows. With this access, a person can edit the tasks in an individual person's workflow. And you can grant it for everyone, or just for direct reports, like if you wanted to allow a hiring manager to remove an unnecessary task from one of their reports onboarding workflow.
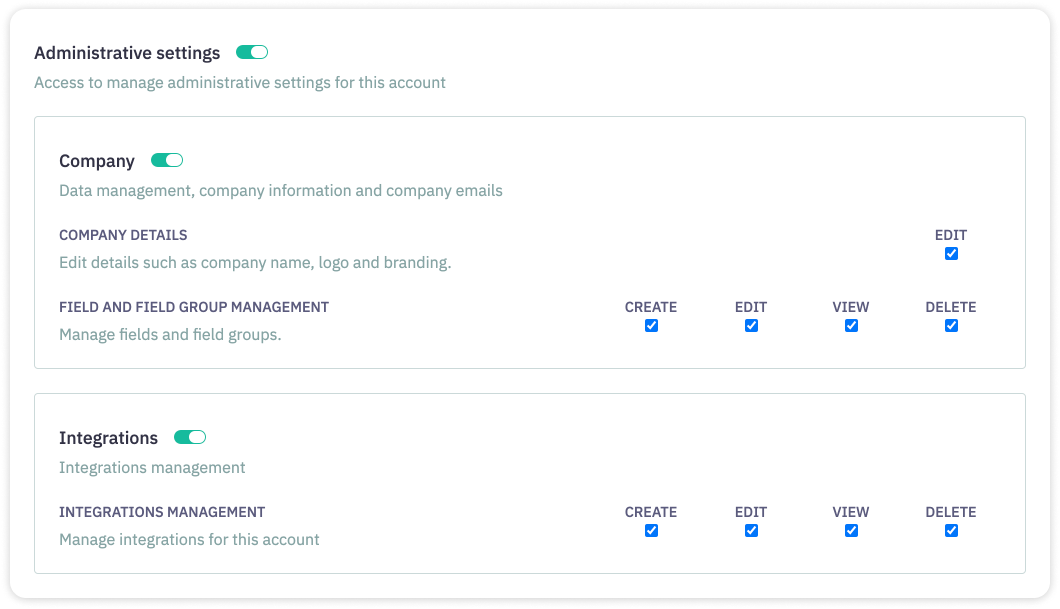
Administrative Settings
And finally is the administrative permissions. Under the company settings, you can grant access for editing and managing your company's Sora instance. This is something that you would only want to grant to those who have ownership over managing Sora at your company.
Then there's integrations. While it's likely that you don't want to grant this access to people at your company and would instead manage these through your Sora success representative, under specific circumstances, you may want to grant these to someone on your team who manages an integrated tool and understands using APIs and webhooks in Sora.
And that's the Sora permissions page. It can be a little overwhelming at first, but by understanding each section and each permission, you can give field-by-field, employee-by-employee access to data, ensuring that everyone can have the right permission to do what they need in their job, without allowing anyone access to any data that they shouldn't be able to see or edit.